


7 Camera Setting Mistakes Most Beginners Make

Setting your drone camera right is half the battle in capturing an excellent aerial photo. Refined flying techniques can assist you to find the perfect angle, but without the correct the camera settings, your final picture will be far from what you anticipate. To give you a hand we’ve summarized 7 common camera setting mistakes to help you get things right before you tap the shutter button!
1. Exposure Mode

Why does your photo sometimes appear as plain white or black? Check the exposure mode! You can choose between AUTO and M(manual) mode. It’s very easy to get overexposed or underexposed images when not in Auto mode
2. EV Compensation

Now that you’ve selected the right exposure mode, but the image still looks too bright or too dark? Solve this by adjusting the EV (Exposure Value) until the image on the screen is exposed correctly. At its simplest, EV+ changes will make the image brighter, and EV- changes will make the image darker. An ideal EV setting for one scene can be totally wrong for another photo. So, always adjust EV setting according to the specific lighting.
But be aware that you can’t change the EV in Manual Mode as the exposure compensation is achieved by adjusting ISO or the shutter speed.
3. ISO

Too much noise in the picture? High ISO allows you to shoot at fast shutter speeds or in low-light environments, but it also leads to increased noise. During the daytime, a high ISO typically results in an overly-bright and noisy image. For this reason, make sure to check if you’ve set the ISO too high if an image has too much noise.
If you’re not sure about how to set the ISO, try using Auto ISO so that your camera will automatically select proper ISO value.
4. White Balance

The
Also, note that you can adjust white balance without degrading the image quality in a photo editor if you shoot in RAW. But if it’s shot in JPEG, the image will lose some of its quality.
5. Focus
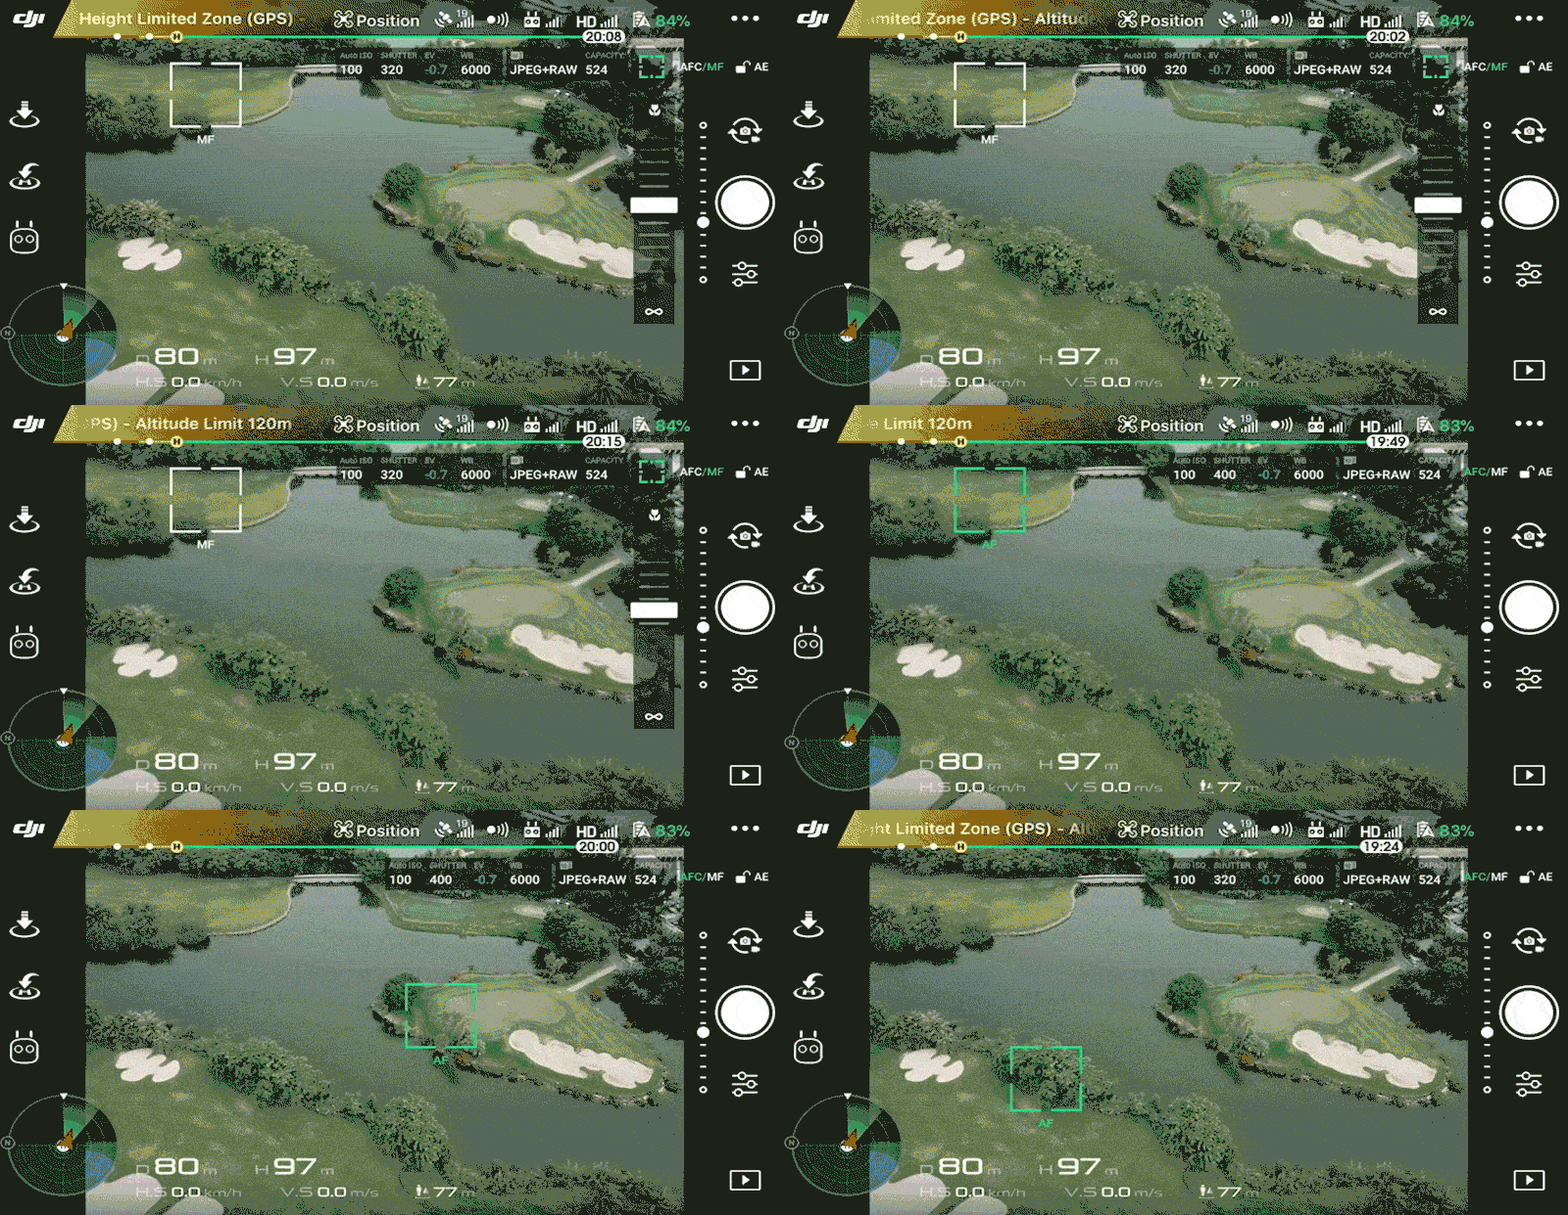
Getting blurred images? When you tried tapping the screen to focus, it didn’t work? This can happen when you select
6. Format

Have you noticed that sometimes the quality of your photos has been reduced after post-processing? In this situation, you may want to check the image format. DJI offers three photo format options: JPEG, RAW, and JPEG+RAW. We recommend that you use RAW if you‘re going to edit the photo later. This is because RAW maintains much more information and detail than JPEG. So you can edit RAW without lowering the image’s standard.
7. Photo Mode

Getting multiple images when you only intended to take a single shot? DJI drones support various photo modes-Single, Multiple, AEB, HDR, Timed Shot, etc. Go to the photo mode menu and make sure that you have selected Single Shot.